In
this article I am going to explain how to set up a ADO.Net Entity Framework project or website in asp.net using Visual studio 2013
Description:
In
the previous article I have explained How to show confirmation alert beforeclosing browser tab using JavaScript and Search records from Sql Serverdatabase using Linq to Sql.
In
this tutorial I am going to set up a project/website using database first
approach. I already created a database.
Implementation:
To
set up an ADO.net project/website follow the below given steps:
Step 1: Create a
website/project
First
of all create a website or project.
Step 2:
Now
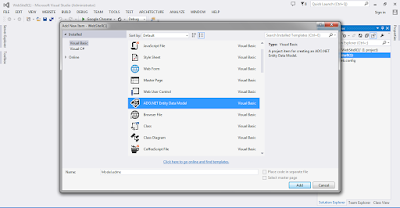
right click on website in solution explore. Go to Add >> Add new item.
Add new item window will be open and select
the ADO.NET Entity data model. After that click on add button.
Now
you get a pop up message to place the .edmx file in the App_Code folder. Click
on Yes button. It will add an App_Code folder to project/website.
Step 3: Entity
data model wizard
Now
you see Entity data model wizard will be open. Select the Generate from database option and
click on next button.
In
next step we choose the data connection. Here I am going to create a new data connection.
Click on new connection button and connection properties window will be open.
Choose the server name and after that select the database. We can check the
connection establish or not via click on Test connection button. If connection
is succeed then click on OK button.
When
we click on OK button we again back to connection window that showing the
database name which we select and entity name that set in web.config file. We
can change the entity connection name.
After
done click on next button.
Step 4: Choose the
Entity framework version
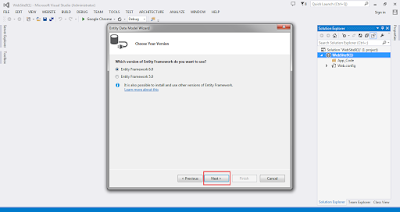
In
this step choose the preferred entity framework version. I am using the entity
framework 6.0. And click on Next button.
Step 5: Choose the
database objects and settings
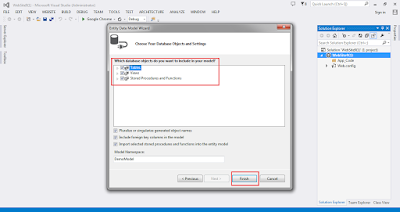
In
this step choose the database object i.e. Tables, views and store procedures
and Function that you want to use. We
can choose all the options or a particular option.
Click
on finish button.


.png)


No comments:
Post a Comment