Introduction: In this
article I will explain how to add Ajax Toolkit to Visual Studio 2012, 2013 from
Nuget
Description:
In
the previous article I have explained Swap the image OnClick using Jquery inasp.net and How to Change the image on MouseHover like shopping website usingJquery in asp.net
To
add the Ajax Toolkit go to Tools>>Library
Package manager >> Package Manger Console. Now copy and paste the
below given command:
Install-Package
AjaxControlToolkit
After
that hit the enter button. You get a successfully added message in package
console and bin folder added to project/website.
Note: This command will install with the latest version of Ajax Toolkit to project. To know/install the different version of Ajax you can check on Nuget.
To
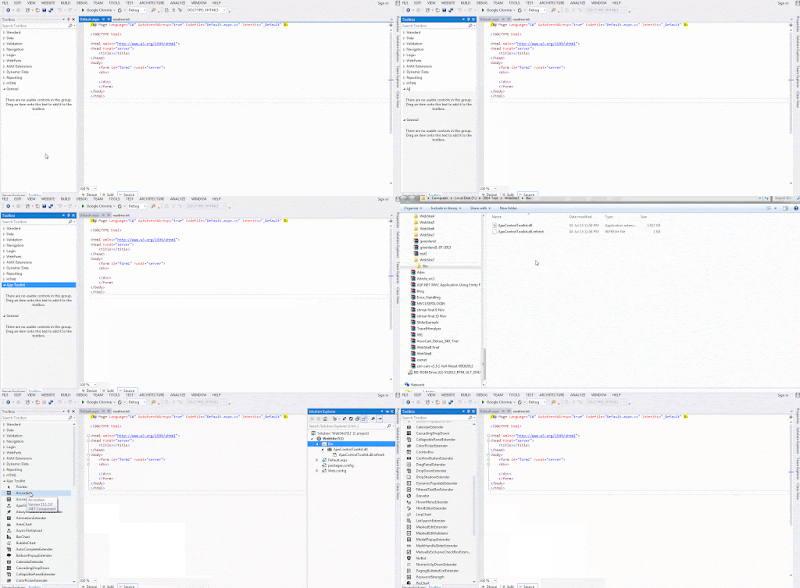
add the Ajax Toolkit to Toolbox follow the below given steps.
Go
to Toolbox and right click.
Choose
the Add tab option and name it e.g. Ajax, Ajax Toolkit etc.
Now
open the bin folder with file explores. Drag and drop the Ajax Toolkit DLL to new tab created by you.
In this article we have learn how to add the Ajax Toolkit to Visual studio 2012, 2013. I hope you enjoyed this article.


.png)


No comments:
Post a Comment